A forge is a hole in the ground with air blown into it. Everything else is refinement. That is worth remembering when you start pricing castable refractory, welded steel shells and purpose-made firepots, because a stack of firebricks with a pipe poked through the side will reach welding heat comfortably and cost you very little. What follows is a simple solid-fuel forge: firebrick body, steel tuyere, small blower, built in an afternoon and capable of everything from a set of tongs to a small axe head.
What You Need
The dimensions below give you a chamber roughly 230mm long, 115mm wide and 130mm deep. That is plenty for knives, tongs, scrollwork and most everyday jobs, and it is small enough that a modest blower will bring it to temperature quickly.
- 24 insulating firebricks — the soft, lightweight sort rated to 1260°C. Buy three or four spares; they chip and crack with use.
- Four hard firebricks for the floor if you intend to burn coal. Soft brick simply cannot take the raking a coal fire demands.
- 300mm of 25mm nominal bore black iron pipe for the tuyere. Mild steel tube works too. Go smaller rather than larger: a 20mm bore is easier to control than a 40mm one.
- Refractory mortar or fire cement. A small tub goes a long way.
- A blower. A hairdryer on its cold setting will get you started, though cheap ones cook themselves within a few sessions. A bouncy castle blower or a small centrifugal fan is quieter and lasts.
- Something to hold it together — angle iron and bolts, a welded frame, or a ratchet strap with a couple of bricks braced against the outside.
- A base that will not burn. A steel bench, a paving slab, or a stack of bricks on the ground.
- Fuel. Lumpwood charcoal is the easiest starting point. Coal or coke burns hotter and longer once you learn to manage it.
- Air control — a gate valve, a dimmer switch on the blower, or a metal plate you slide across the pipe inlet.
Tools are minimal: a hacksaw or angle grinder, a drill, a lump hammer, gloves and eye protection. A wood saw will cut soft firebrick neatly, though it will never cut timber again.
Getting the Tuyere Right
The tuyere is the pipe that carries air into the fire, and it is the part most often built wrong. Three rules matter.
First, it enters low. Set the centre of the pipe roughly 40mm above the floor of the chamber, so the fire burns in a mound above and around the blast rather than on top of it.
Second, it sits flush with the inner face of the brick, or protrudes no more than 10mm. A pipe that juts into the fire chamber will be burnt back to a ragged stub within a few hours of use. If it is recessed, the brick around the opening erodes instead and you end up with a hole you cannot aim.
Third, angle it slightly downward — five to ten degrees is enough. A horizontal blast tends to drill straight through the fuel and out the other side, leaving you with a cool fire and a lot of sparks. A slight downward tilt spreads the air across the base of the fuel bed where you want it.
To make the hole, mark the brick and cut it with a saw, or drill a ring of holes and knock the centre through with a chisel. Bed the pipe in with fire cement once you are happy with the fit; it stops air leaking sideways through the joint and keeps the pipe from rattling.
Laying Out the Bricks
Think of the forge as a box with three solid walls and a loose lid. The back wall and two side walls go up two courses of brick laid on edge, with the joints staggered like ordinary brickwork so the stack holds itself together. The floor is brick laid flat. Leave the front partly open — a gap about 100mm wide and 80mm high gives you somewhere to introduce stock and to poke the fire, and it lets you watch what the fuel is doing.
Dry stacking versus cementing
Dry stacking is better than it sounds. A firebrick forge held together with a frame and gravity can be rearranged whenever you want a deeper chamber or a wider mouth, and bricks that are not glued can be rotated as they wear. Use fire cement only where it earns its place: around the tuyere, and on the lid if you decide to fix one permanently.
Building It, Step by Step
- Set your base at waist height if you possibly can. Working at ground level means bending over hot brick all afternoon, and your back will resent it.
- Lay the floor bricks flat and tight, hard brick first if you are burning coal.
- Build the back wall and the two side walls, two courses high, staggering the joints. Check each course is level as you go.
- Cut and fit the tuyere through one side wall, following the rules above.
- Seal the tuyere with fire cement and leave it to cure according to the manufacturer's instructions before you light anything.
- Build the front wall, leaving the working opening. Two bricks laid on edge with a gap between them is usually enough.
- Add a loose lid of firebricks, positioned so you can slide one aside to see the fire and to reach in with tongs.
- Connect the blower. A short length of flexible duct makes this far easier than trying to line the fan up with the pipe.
- Fit your air control and test the blast with no fuel in the forge. You want a gentle, steady flow, not a gale.
Lighting Up and Reading the Fire
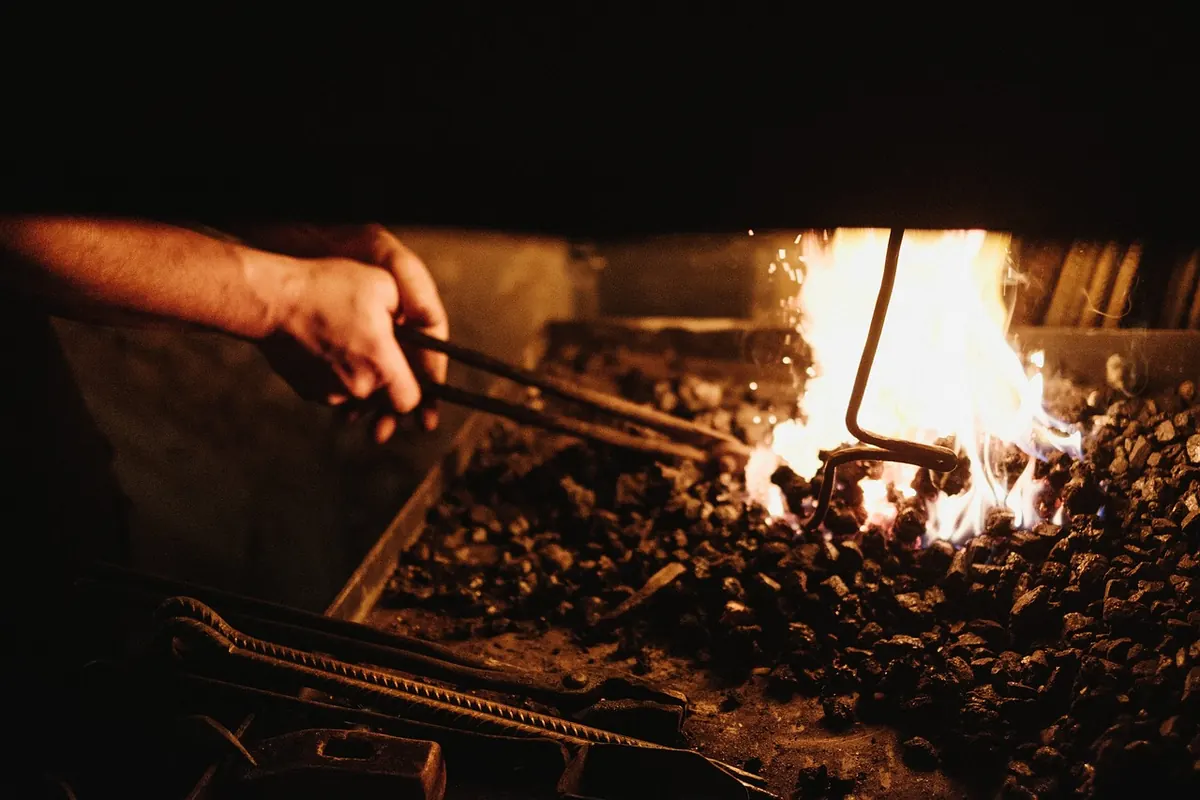
With charcoal, start a small fire of paper and kindling in the middle of the chamber, add a handful of charcoal once it takes, and bring the blast on slowly. Pile more fuel around the edges and let it spread inward. Within a few minutes you should have a mound of glowing fuel with a hollow in the centre — the duck's nest. That hollow is where the work goes.
Bury the steel in the coals just above the tuyere rather than resting it on top of the fire. That is where the heat is concentrated and where the atmosphere is richest in carbon, which protects the steel from scaling. Keep the blast low enough that you are not spraying sparks across the workshop; a forge running flat out wastes fuel and burns steel as readily as it heats it.
If you are burning coal, start with wood or charcoal, then heap coal around the outside of the fire. It will coke down, and you push the coked fuel into the centre as you need it. Expect clinker — a glassy, fused lump that forms near the blast — and lift it out with a hook before it smothers the fire.
Looking After It
Insulating firebrick is soft and it will crack. Cracks in the walls are rarely a problem unless hot gases start escaping through them, at which point rotate the brick or replace it. Keep spares on the shelf and treat them as consumables.
Never quench a hot fire with water. It will shatter the bricks and leave you rebuilding the forge.
A word on safety, and it is not a small one: burning charcoal or coal produces carbon monoxide, which is odourless and lethal. Forge outdoors, or in a space with genuine cross-ventilation and a carbon monoxide alarm. A sealed garage is not a workshop, it is a trap. Wear eye protection and gloves, cut brick outside with a dust mask on, and remember that the outside of the forge gets hot enough to scorch a bench even when the inside is doing all the work.
A Forge You Can Grow Into
Get this one running and use it for a season. Learn how the fire responds to the blast, how deep to bury the work, how much fuel to keep in the mound. Then, if you find yourself burning coal in quantity, add a cast iron firepot sunk into the floor with the tuyere entering its base — it holds a deeper fire, collects clinker neatly, and turns a good brick forge into a genuinely capable one. Everything you have learned about reading the fire will carry straight over.
Photo: 652234 / Pixabay