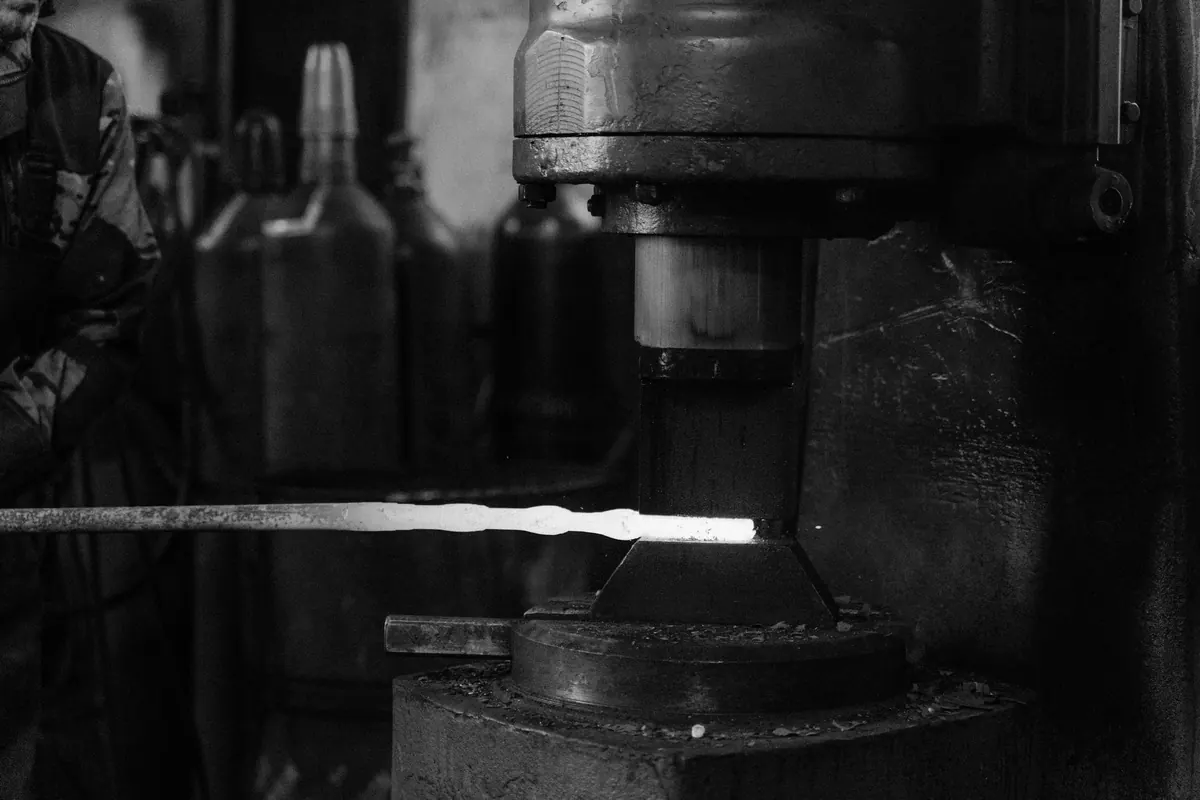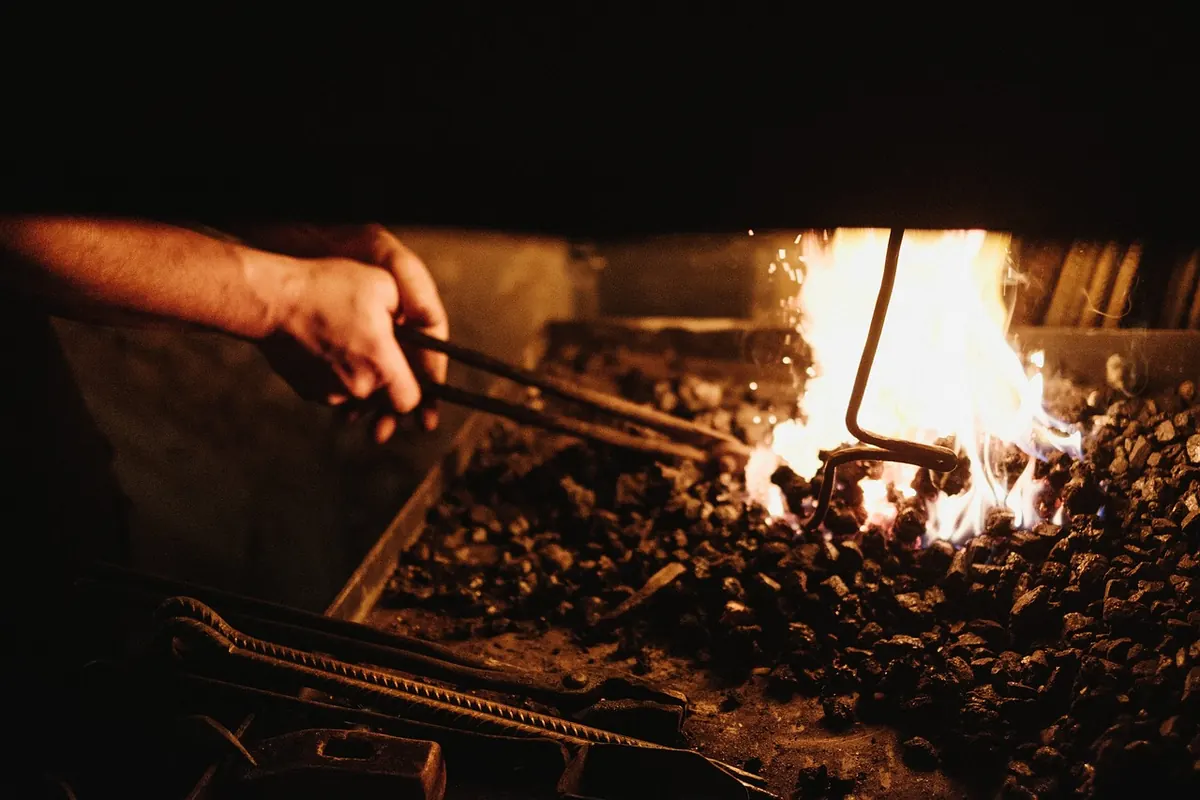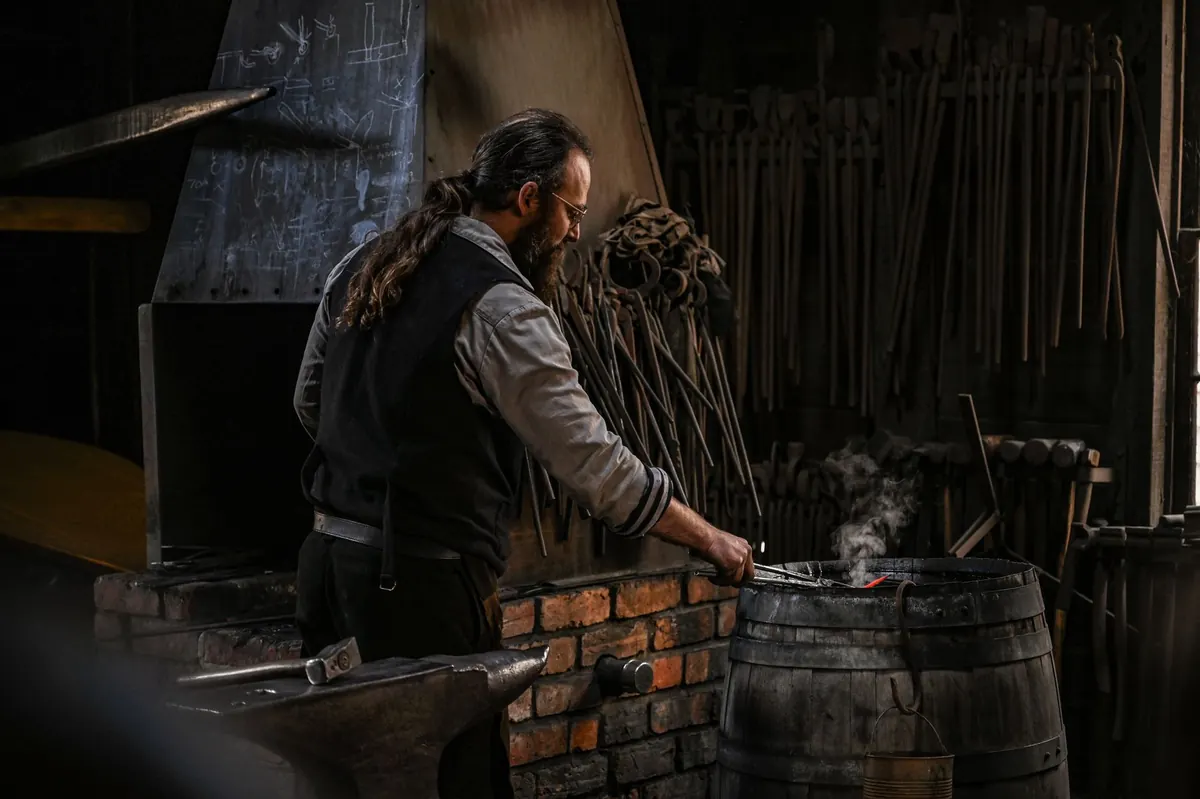
A forge in the garden sounds romantic until you picture a neighbour's washing line and a gusty Tuesday in March. The good news is that a small setup works beautifully in a shed, a garage or an open-sided shelter. The trick is getting the boring parts right first: air, fire, noise and fuel. Sort those and the good part — hitting hot metal — looks after itself.
Start with the space, not the anvil
You do not need a barn. A working area of roughly three metres by three metres is comfortable, with the forge, anvil and vice within a couple of steps of each other. Blacksmithing is a game of small movements repeated often; if you have to walk to the anvil, you lose heat and rhythm.
Look up before you look down. A timber shed with a felt roof is a poor choice unless you line the wall behind the forge with something fireproof and keep a clear gap. Concrete floors are ideal, though be aware that hot scale landing on concrete can pop flakes off the surface, so a steel table or a bed of firebricks under the fire saves you a repair job later.
A garage is often the easiest option, but garages are usually sealed up tight for a reason: they keep the weather out and the fumes in. An open-sided shelter gives you the best compromise — a roof over your head, natural draw, and no trapped gases on a still day.
Ventilation is the part people get wrong
Any solid fuel fire produces carbon monoxide, and a propane forge does too. It is colourless and it does not warn you. Opening the main door a crack is not ventilation; it is a draught you cannot rely on when the wind changes.
What you want is cross-flow: a low-level inlet on one side, a high-level outlet on the other, ideally a ridge or roof vent. Air comes in at your feet, sweeps across the fire, and leaves above your head. Fit a carbon monoxide alarm in the workspace as a backstop, and never let a fire smoulder away in a closed-up building after you have finished.
If you are unsure whether your extraction is adequate, that is the moment to ask someone qualified rather than guess.
Fire safety: the non-negotiables
Sparks travel further than you think, and they stay hot longer than you expect. Set the forge at least a metre away from anything that burns, and further from timber walls, stacked wood or fuel. Then add the following:
- Two extinguishers rated for solid and flammable liquid fires — dry powder or CO₂ — with the gauges checked monthly
- A bucket of dry sand or earth for smothering
- A metal quench bucket with a lid, kept topped up and never used for anything else
- A steel or firebrick hearth so the fire sits on something that will not crack or ignite
- A spark screen or welding blanket between the fire and anything combustible
- Oily rags and sawdust stored well away, in a lidded metal bin
Never leave a lit forge unattended, not even for a delivery. And tell your home insurer what you are doing; some policies ask questions about open fires and fuel storage, and it is far better to find out now than after a claim.
Noise, neighbours and keeping the peace
An anvil rings like a bell, and that ring carries. Wrapping a chain around the waist of the anvil, sitting it on a bed of sand, or clamping a strong magnet to the underside all take the edge off. Angle grinders are the other noise source, and they are worse than the hammer.
Keep to sociable hours — mid-morning to early evening — and give the neighbours a heads-up before your first session rather than after. Most people are curious rather than annoyed, and a look at what you are making buys a lot of goodwill. If you rent, check your tenancy agreement; if forging becomes a business rather than a hobby, planning and licensing considerations change, so speak to your local council. Persistent complaints can be treated as a statutory nuisance, and no hobby is worth that argument.
Fuel: buy small, store properly
Coal and coke want a lidded metal bin, off the ground, kept dry and a good distance from the forge. Damp fuel smokes and sulks; bulk heaps can self-heat, so buy in modest amounts and use them.
If you are in a smoke control area — and plenty of UK towns are — check with your council before burning coal or wood at all, and use an authorised smokeless fuel if you do.
Propane is the other route, and it brings its own rules. Cylinders stay upright and outside, secured against falling, never below ground level and never near drains or air bricks, because LPG is heavier than air and pools at the lowest point. Check hoses and the regulator with soapy water, and replace anything cracked or perished rather than patching it. Your gas supplier will advise on safe storage; take them up on it.
The basic kit
You can start forging for far less than the internet suggests. The essentials:
- A forge. A bottom-blow firepot in a steel table is the traditional choice; a small two-burner gas forge is cleaner, faster to light and easier to control in a garden.
- Something to hit on. A proper anvil if the budget allows, or a length of rail or a heavy block of steel set solidly on a stump.
- Hammers. One cross pein around a kilogram and one lighter ball pein covers most beginner work.
- Tongs. Two pairs with flat jaws, sized to your stock.
- A sturdy vice bolted to a bench that does not wobble.
- A quench tank and a wire brush, files and a hacksaw or grinder.
- Safety kit: safety glasses, ear defenders, leather apron, gloves for handling stock, and boots.
Add a gas forge, a welder or a power hammer later, once you know what you actually reach for.
Your first session
Light a small fire and keep it small. Beginners build a bonfire and then fight it all afternoon; a modest, controlled fire is easier to read and cheaper to run. Work one heat at a time, put the metal back before it goes dull, and stop while you are still enjoying it.
When you finish, shut the gas off at the cylinder, or let a solid fuel fire burn down and rake the ash into a metal bin. Then walk the space once with a torch, checking the floor, the walls and the bin. Two minutes of that habit is what keeps a home forge a pleasure rather than a problem.
Photo: ΘSWΛLD / Pexels