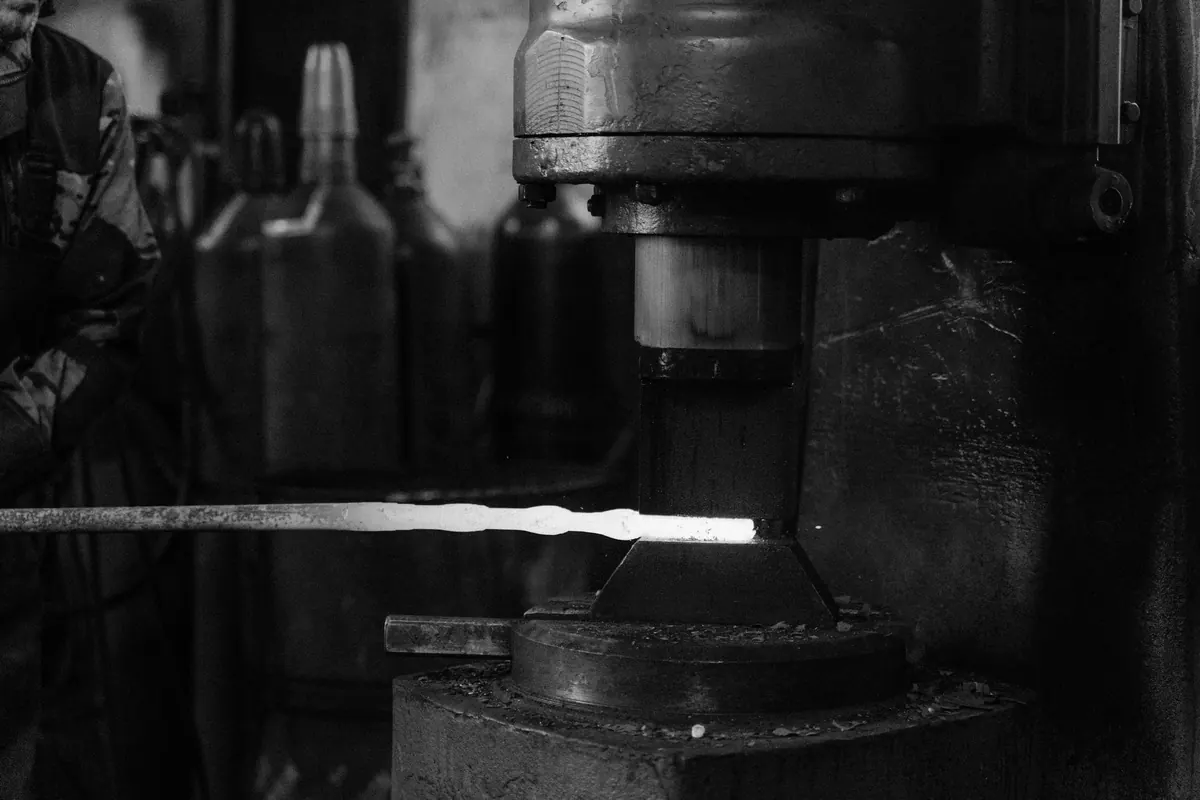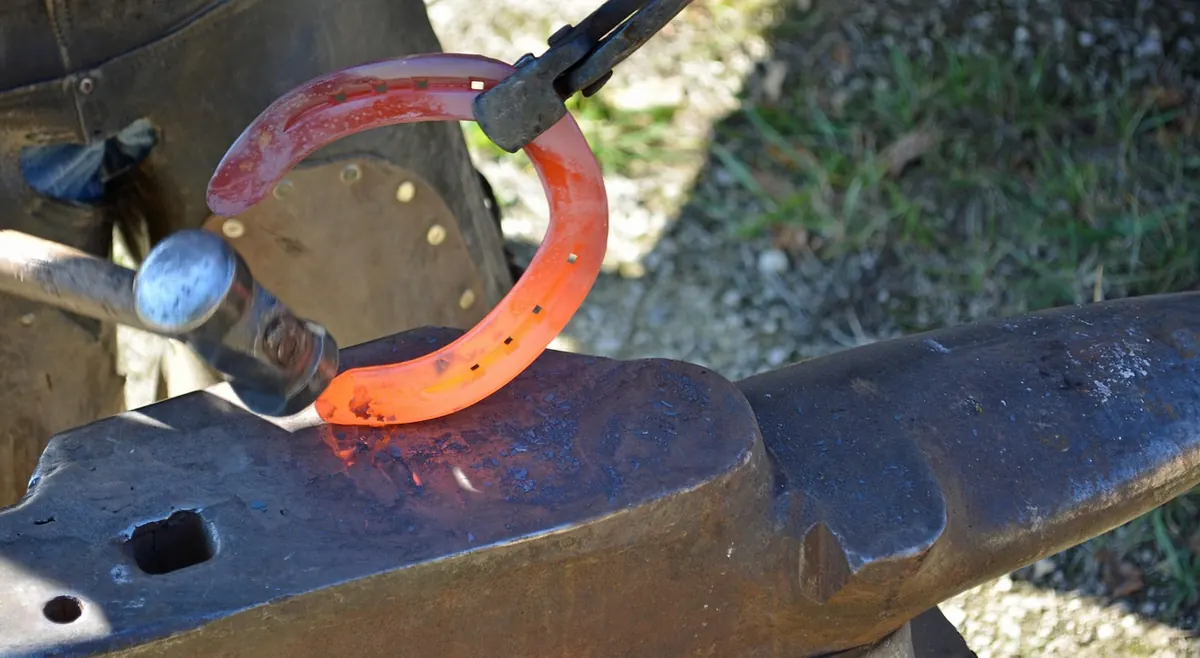
Two bars, bright orange ends, one confident tap on the anvil – and the joint opens like a badly glued picture frame. Forge welding punishes shortcuts harder than almost any other skill in the shop: the metal either merges or it doesn't, and it tells you which within about two seconds. When a billet refuses to stick, the cause is rarely a single fault. It is usually three or four stacked together, a scarf that doesn't fit, steel that wasn't clean, a heat that was almost right, far too much flux, and a hammer used too gently to move any metal. Work through them in order and most failed welds become fixable.
The Scarf Does Most of the Work
A forge weld is a pressure joint. Two surfaces have to be hot, clean and pressed into contact closely enough that they merge into one piece of steel. The scarf is the shape that allows this: it exposes fresh metal and gives your hammer blows a direction to work in.
Aim for a taper roughly one and a half to two times the thickness of the bar, with both ends cut to the same angle so they meet along their whole length instead of touching at a single point. Keep the faces flat rather than domed. A crowned scarf traps scale in the middle and holds the edges apart, which is why so many welds look closed and then peel open on the first real blow.
Watch for the usual offenders: a scarf that is too short or too steep, a chisel-shaped end that only bites at the tip, and two ends cut by eye that don't match each other. Cut a few cold offcuts, file them and fit them together dry before you light the fire. If the joint doesn't close neatly in your hand, no amount of heat will rescue it.
Clean Steel Welds; Dirty Steel Sulks
Rust, mill scale, oil, grease and paint all sit between the mating faces as a film, and no flux will push that film aside. Grind or file the surfaces immediately before welding, wire brush them, and wipe off oil with a rag rather than hoping it burns away.
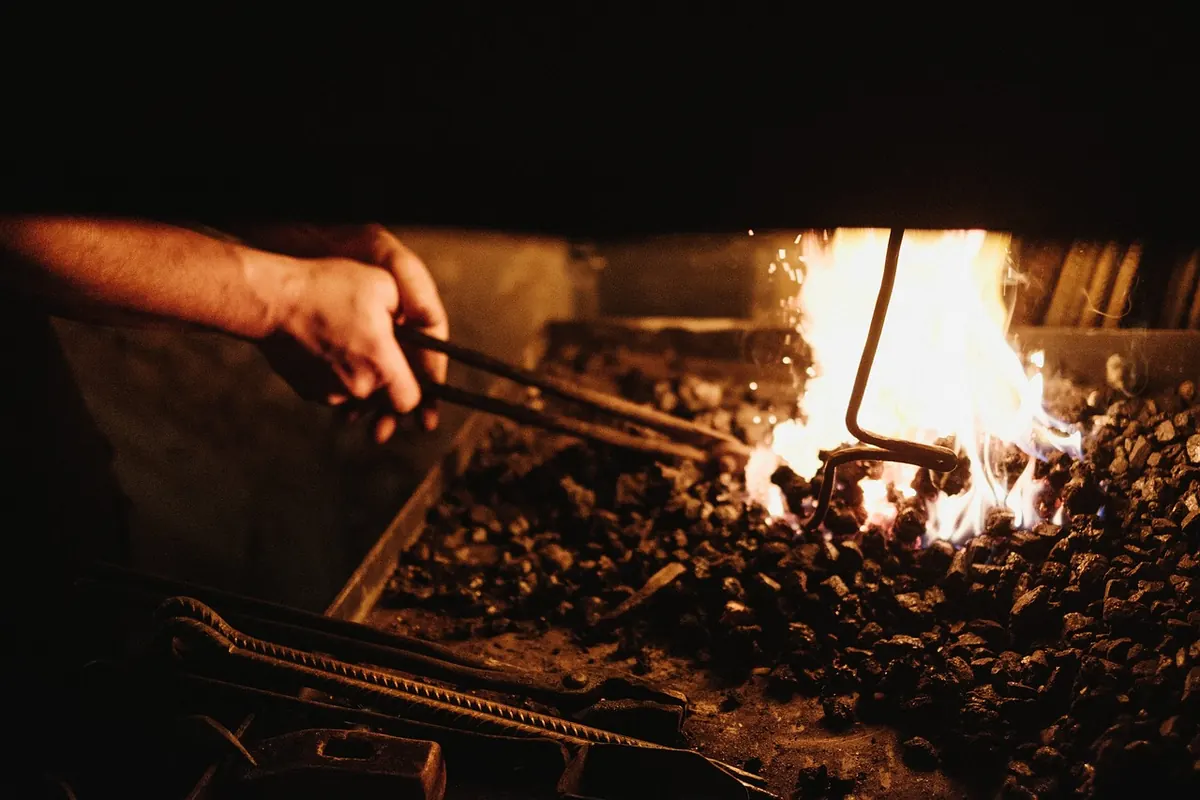
The fire matters just as much. A draughty, oxidising fire coats the work in scale as it heats, and scale is a barrier you cannot hammer through. Keep the steel in the heart of the fire, out of the air blast, and don't leave it idling while you sort out your tongs. At welding heat, fresh scale forms in seconds.
One safety point worth repeating: never heat galvanised steel in a forge. The fumes are seriously harmful. If you don't know what an unknown piece of metal is coated with, keep it out of the fire.
Heat: Find the Window and Stay In It
Forge welding mild steel happens in a fairly narrow band, from around 1,200°C upward, depending on the steel. Below it, the surfaces are too stiff to merge however hard you hit them. Above it, you burn the steel, and burnt steel will not weld to anything, not even to itself.
Learn what the window looks like under your own lighting. At the right heat the steel is a bright, almost lemony yellow, and the surface looks damp or sweating, as if it is about to run. Sparks coming off the work in the fire are a warning, not a target.
If the metal is throwing sparks, you are already past the weld and into the scrap pile.
Heat also has to soak right through. Thin bar can be ready in a minute; a stacked billet needs longer in the fire and a slower, more even heat. Have your hammer in your hand, the anvil clear, the flux within reach and the tongs set before you pull the work out. At welding heat, you have seconds, not minutes.
Flux: A Pinch, Not a Pile
Flux does two jobs. It shields the hot surfaces from oxygen, and it dissolves the oxides that form anyway so they can be squeezed out of the seam.
Too little flux and you are welding through a layer of scale. Too much is just as bad. A thick, boiling pool of borax sits between the two faces like a cushion, holds them apart, and cools into glass that sets hard inside the joint. Excess flux also eats through firebrick and ceramic fibre linings, so you end up repairing the forge as well as the weld.
A light dusting, applied as the steel reaches a dull red, is usually plenty. Re-flux on the next heat rather than building a reservoir on the first. If a joint refuses to take, don't simply add more flux; clean the faces again and start the weld over.
Hammering: Firm Enough to Move Metal
When a weld looks delicate, the instinct is to tap it gently. That is exactly the wrong response. A weld needs enough deformation to press the two surfaces together and drive flux, scale and slag out of the seam. Feathery taps polish the outside and achieve nothing underneath.
So take the billet from the fire, set it flat on the anvil and strike with purpose, working from the centre of the scarf outwards. Starting at the edges drives flux into the middle of the joint, where it stays and becomes a fault line. Set the weld with a few solid blows, then shape it.
Heavier stock wants a heavier hammer or a striker, and the work goes back in the fire the moment it drops below a good yellow. Forging a half-welded joint cold simply tears it apart. Keep the sequence tight: heat, flux, heat, weld, in one continuous movement rather than a series of pauses.
Still Won't Stick? Work Through This
- Are the two pieces the same steel? Different alloys weld at different heats, and high carbon or stainless needs different handling from mild steel.
- Is the fire clean? Clinker, a hollow fire or an uneven blast creates cold spots and dirty heats.
- Does the scarf fit? Refit it cold, in daylight, and look closely at where the gap is.
- Has the work been in and out of the fire five or six times? Every cycle adds scale and burns off carbon. Cut the scarf back and start again.
- Is the anvil face clean and the hammer polished? Rough tooling stamps defects into a weld that is barely set.
- Can you actually see the colour? Bright sunlight or a badly lit corner will have you welding cold without realising it.
The first heat is almost always the best heat. If a weld has failed twice, rebuild the joint instead of nursing it.
Practise on Deliberate Failures
The fastest way to improve is to make welds that are meant to be broken. Cut half a dozen short bars, scarf them, weld them, then bend each one in the vice until it snaps and study the break. A sound weld tears with a ragged, fibrous look, the metal stretching before it fails. A weld that never took shows a bright, granular, crystalline face where the two surfaces simply pulled apart.
Change one variable at a time. Next test piece gets a longer scarf. The one after that, a hotter heat. Then less flux, then firmer blows. Note what you did while it is still fresh in your mind, because fire conditions, steel and hammer all vary from one session to the next.
A dozen test welds on scrap will teach you more than a hundred welds on a job you care about. Keep your eyes protected, keep galvanised steel out of the fire, work with the forge vented, and treat every piece of hot metal as hot until you have checked it twice. The weld will come.
Photo: macayran / Pixabay