A knife is a good first bladesmithing project because it teaches you almost everything: how steel moves under a file, how it behaves when it gets hot, and how much patience you actually have. You don't need a forge to make one. A hacksaw, a couple of sharp files, a drill and a way to bring a small piece of steel up to hardening temperature will take you from a flat bar to a finished, usable blade. This is stock removal, and it's the most reliable route into the craft for anyone working at a bench rather than at an anvil.
What You Need Before You Cut Anything
Stock removal means exactly what it sounds like. You start with a flat bar and take away everything that isn't a knife. There's no hammer work, which means the quality of your tools matters far more than the speed of your arm. Gather these first:
- A flat bar of known carbon steel, 3–4 mm thick, long enough for blade plus tang
- A hacksaw with bi-metal blades, and two spares
- A bastard-cut mill file, a second-cut file, and a file card to keep them clean
- A drill with HSS or cobalt bits, including 4 mm and 5 mm for pins
- Two or three clamps and a bench that doesn't shift when you push against it
- Safety glasses, a dust mask, and heat-resistant gloves
- A heat source, quench oil, and an oven for tempering
- Handle scales, pins, and two-part epoxy
Sharp files matter more than expensive ones. A blunt file burns through steel without cutting it properly, and you'll spend an hour wondering why nothing is happening.
Choose Steel You Can Actually Harden
This is where most first knives go wrong. Mild steel from a hardware shop will file beautifully and then refuse to harden, because it hasn't got enough carbon in it. Mystery steel from an old bracket or a car part is a lottery you can't win, because you have no way of knowing what it is or how to treat it.
Buy a known simple carbon steel instead. O1 ground flat stock is easy to find in the UK, arrives annealed and accurately sized, and hardens reliably in oil. 1084, 80CrV2 and 1095 all behave similarly for a beginner. Avoid stainless steels for a first project; they need precise, high soaking temperatures and controlled equipment. One bar of O1 costs less than the petrol to go looking for scrap, and it removes a whole category of failure.
Drawing, Cutting and Shaping the Profile
- Draw the profile on paper at full size, cut it out, and hold it in your hand. Adjust until it feels right before you touch steel.
- Trace around the paper onto the bar with a permanent marker.
- Clamp the bar and cut outside the line with a hacksaw, leaving a millimetre or two of waste.
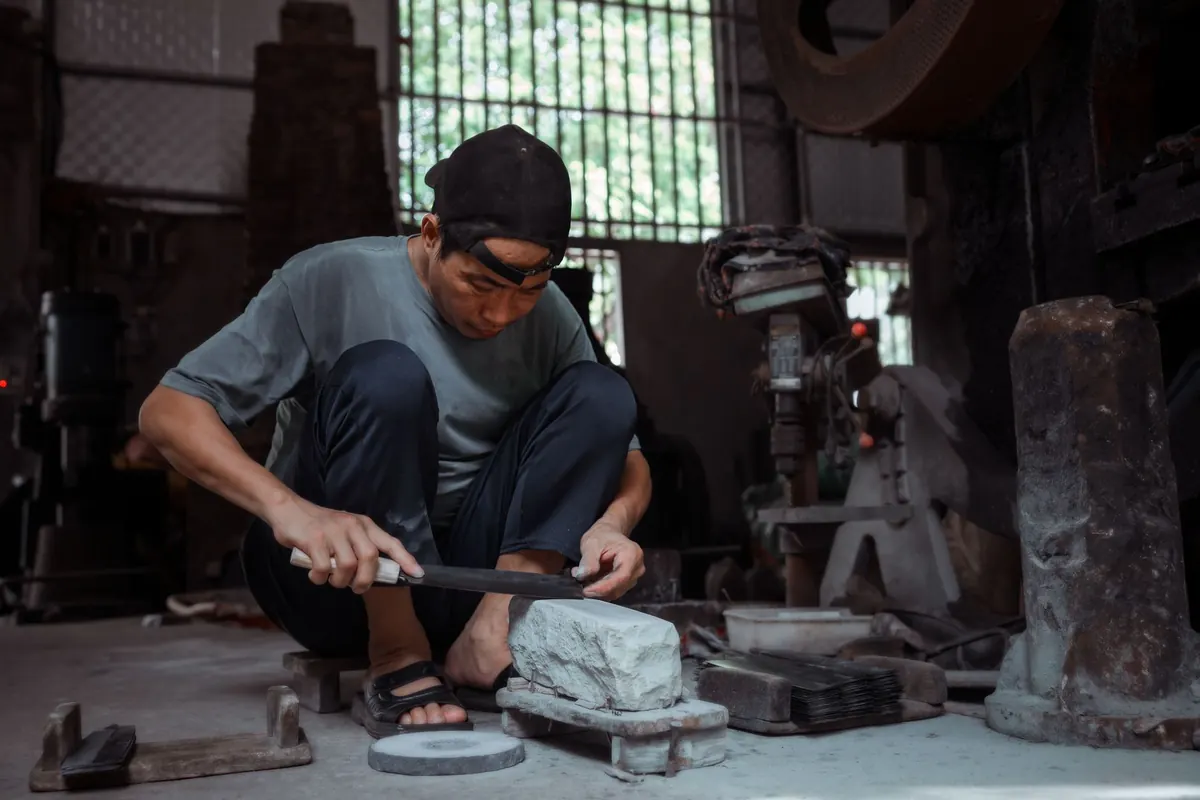
- File down to the line. Draw filing, where you hold the file at right angles and push it sideways along the edge, gives you far more control than pushing straight.
- Drill your pin holes now, while the steel is still soft. Drilling hardened steel is a misery.
- Mark the centre line along the cutting edge with your marker. This is your reference for the bevels.
Expect the hacksaw work to take the best part of an hour on 4 mm stock. That's normal. Put the radio on.
Filing the Bevels
Freehand bevels are hard. A simple file jig fixes that: a length of flat bar with a hole drilled near one end, clamped so the file sits at a consistent angle to the blade. Around 5 degrees per side gives you a full flat grind on 3 mm stock; steeper angles give you a scandi or sabre grind. Consistency beats theory here, so pick an angle and keep it.
Colour the whole bevel area with marker pen before you start. Every filing pass removes ink where you've cut, and you can see at a glance whether you're keeping the bevel even on both sides. Work alternately, a dozen strokes per side, and check often.
Stop grinding when the edge is around half a millimetre thick. Anything thinner than about 0.3 mm is likely to warp or scorch during hardening, and a burnt edge is far more frustrating to fix than an extra ten minutes of filing.
Heat Treating Without a Forge
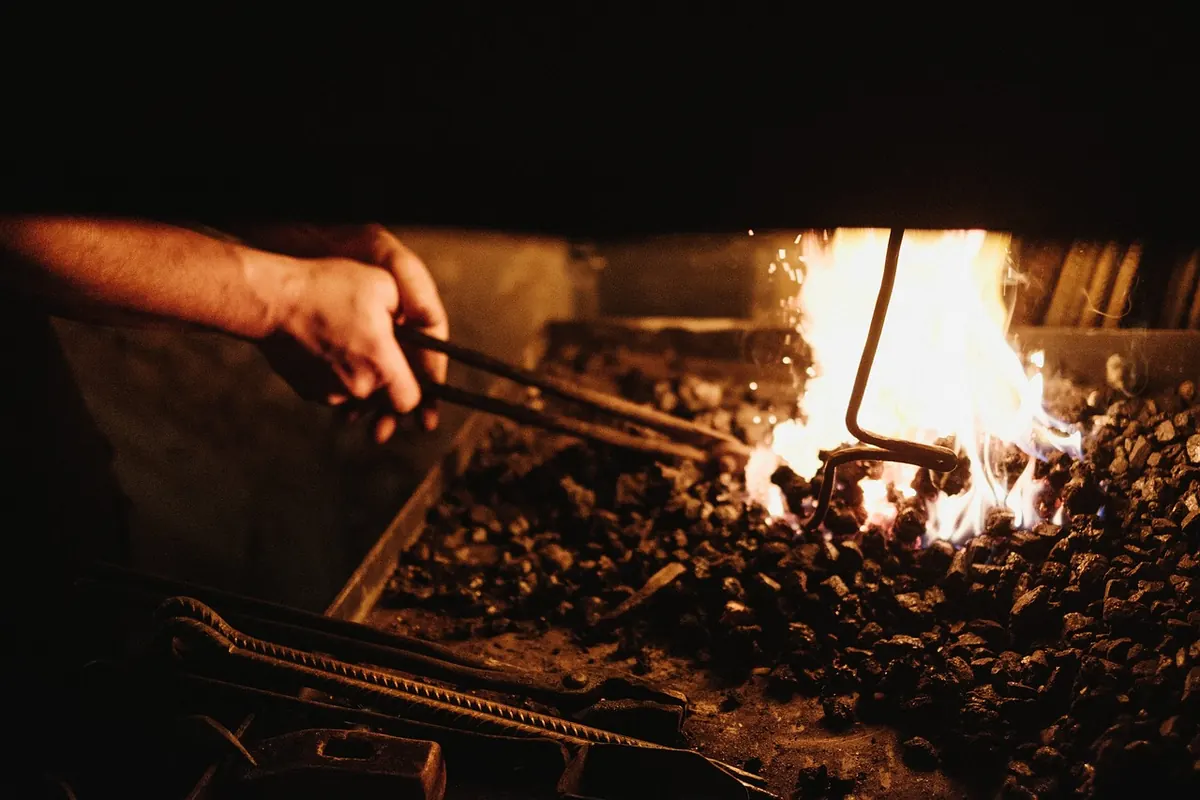
You need a heat source that can hold a small blade at around 800°C for a minute or two. Two soft firebricks with a hole through them, fed by a propane blowtorch, will do it. A charcoal barbecue with air blown into the coals works as well, though it's harder to control and you'll use a lot of fuel.
For O1 steel, the process looks like this:
- Heat the blade slowly and evenly until it's no longer magnetic — a magnet won't stick. That happens a little below hardening temperature, so let it climb a shade brighter after that, judged in dim light.
- Hold it there briefly so the heat evens out, then quench edge-first into warm oil — around 50–60°C, warm to a gloved hand but not smoking. Plunge straight down, no sideways sweeping, and keep it moving until it stops glowing.
- Test the edge with a file. It should skate across rather than bite. If it bites, reheat and quench again.
- Temper straight away. Two one-hour cycles at 190–210°C in a domestic oven, letting the blade cool between. Use a separate oven thermometer, because oven dials are often optimistic.
Tempering is not optional. Untempered hardened steel is glass-brittle and will snap the first time you lean on it. Ventilate the kitchen and wipe the blade down before it goes in.
Fitting the Handle
Roughen the tang and the inside faces of your scales with coarse abrasive, then degrease everything with acetone or methylated spirits. Mix your epoxy thoroughly, coat both surfaces, and clamp lightly. Over-clamping squeezes the glue out and leaves starved joints that fail later.
Once the epoxy has cured overnight, shape the handle with files and a rasp, then sand through the grits to around 400 or 600. A coat of boiled linseed oil or a wiping varnish will keep it looking decent. If your pins are slightly proud, file them flush carefully — a slip here scratches the scale and means more sanding.
Sharpening, Testing and the Second Knife
Set your final bevel on a stone or diamond plate, working up to a fine grit, and finish with a few passes on a strop. Test on paper, then on a carrot or a bit of rope. A first knife rarely looks like the ones online, and that's fine. What matters is that it holds an edge, feels balanced in the hand and didn't come from a shop.
Keep it out of sight when travelling, and check your local rules on carrying knives if you're unsure — the law varies and it's worth getting proper advice rather than guessing. Then start the next one. Your second blade will be twice as good, because your hands will already know what your eyes had to learn.
Photo: HONG SON / Pexels